🌾 Know how many jars you need before you start.
Running out of jars mid-batch means rushed decisions and headspace errors. Calculate your jar count from harvest weight first.
Of all the variables in home canning, headspace is the one most often eyeballed — and the one where eyeballing causes the most failures.
A quarter inch too little and your jars siphon liquid during processing. A half inch too much and the seal never fully forms. Either way, you open your pantry three months later to find unsealed jars, discolored food, or worse.
Headspace isn't a suggestion. It's the physical mechanism that makes vacuum sealing work.
What Headspace Actually Is
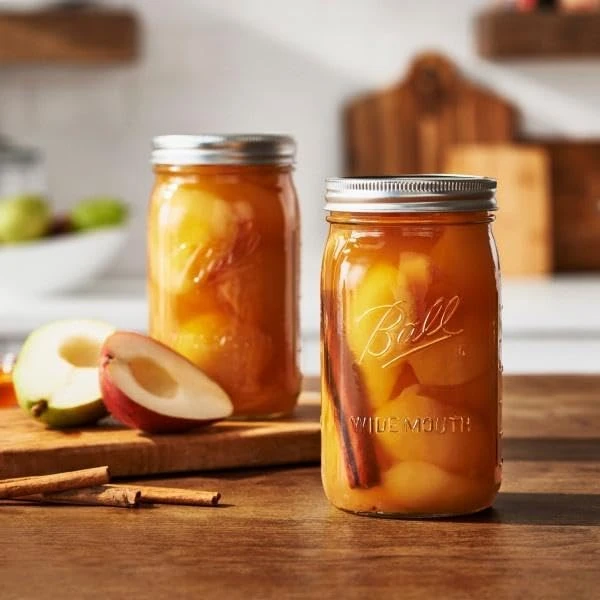
Headspace is the empty space between the surface of your food or liquid and the underside of the lid.
You measure it from the top of the food — not the top of the jar — down to where the lid will sit.
Headspace is measured from food surface to lid underside — not to the jar rim.
The Physics of Why Headspace Matters
To understand why the measurement is so precise, you need to understand what happens to a jar during processing.
What happens inside the jar during heat processing
Step 1: Heating. As the jar heats in the canner, the food expands and air inside the headspace expands.
Step 2: Venting. Expanding air and steam escape past the lid's sealing compound (the lid is held down by the band but not yet fully sealed). This venting is normal and necessary.
Step 3: Cooling. As the jar cools after processing, the contents contract. The air that escaped cannot return because the sealing compound has softened and re-adhered to the jar rim. This contraction creates the vacuum.
Step 4: Vacuum seal. The pressure difference between the near-vacuum inside and atmospheric pressure outside pushes the lid down firmly against the jar rim, completing the seal.
Headspace controls Step 2 and Step 3.
Too little headspace leaves no room for expansion — food pushes against the lid during Step 2, preventing proper venting and contaminating the sealing surface.
Too much headspace means more air must be expelled during Step 2. If processing time isn't long enough to expel all of it, residual oxygen remains inside the sealed jar, allowing aerobic spoilage organisms to grow.
⚠️ This is why headspace is a food safety issue, not just a quality issue
Residual oxygen from excess headspace can support the growth of mold and aerobic bacteria. Insufficient headspace that prevents proper sealing can allow external contamination. Both scenarios can lead to spoiled or unsafe food — sometimes without obvious visual signs.
USDA Headspace Standards by Food Type
These are not arbitrary numbers. They reflect the expansion characteristics of different foods and the processing conditions required for each.
| Food type | Required headspace | Processing method | Why this amount |
|---|---|---|---|
| Jams and jellies | 0.25 inch | Water bath | High sugar content limits expansion; minimal air needed |
| Fruits (halves, slices) | 0.5 inch | Water bath | Moderate expansion; high-acid food |
| Tomatoes | 0.5 inch | Water bath or pressure | High water content expands significantly |
| Pickles (cucumbers) | 0.5 inch | Water bath | Vinegar-brined; moderate expansion |
| Most vegetables | 1 inch | Pressure only | Higher temps cause more expansion; low-acid requires pressure |
| Green beans | 1 inch | Pressure only | Low-acid; high expansion under pressure |
| Dried beans (cooked) | 1 inch | Pressure only | Beans continue absorbing liquid during processing |
| Meats and poultry | 1 to 1.25 inch | Pressure only | Fat expansion; long processing times |
💡 Critical rule: Never substitute water bath canning for pressure canning on low-acid foods (vegetables, meats, beans). The required temperature to destroy Clostridium botulinum spores is 240°F (116°C) — only achievable in a pressure canner. Water bath canning only reaches 212°F (100°C). This is not a preference — it is a food safety requirement.
How to Measure Headspace Accurately
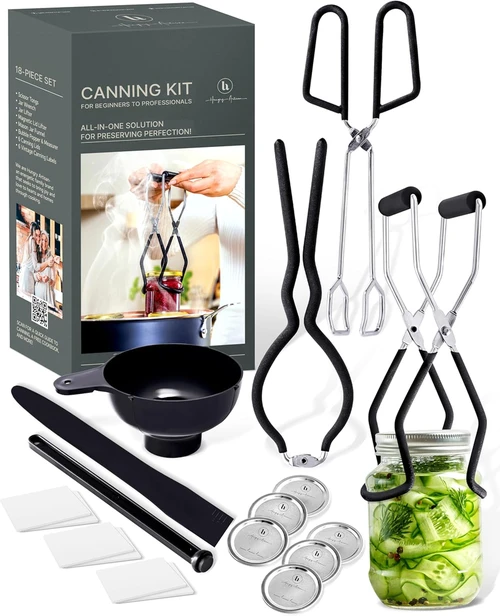
The most reliable method is a headspace measuring tool — a small plastic or metal ruler with notches at 0.25, 0.5, and 1 inch. Most canning starter kits include one.
If you don't have one:
Using a standard ruler: Hold it vertically inside the jar with one end touching the food surface. Read the measurement to the jar rim, then subtract the thickness of your lid and band (approximately ⅛ inch combined for standard Mason jar lids). This gives you actual headspace to the sealing surface.
The finger method (approximate only): The tip of your index finger from the first knuckle to the fingertip is approximately 1 inch for most adults. Useful for a quick check but not precise enough for consistent results.
Best practice: Measure every jar. Headspace varies when packing solids like green beans or cucumbers because the food settles differently in each jar.
Why Headspace Varies Between Pressure and Water Bath Canning
The difference comes down to processing temperature.
Water bath canning operates at 212°F (100°C) — the boiling point of water at sea level. Foods expand moderately at this temperature.
Pressure canning operates at 240°F (116°C) — the higher temperature required to kill botulism spores in low-acid foods. At this temperature, expansion is greater.
This is why low-acid foods processed in a pressure canner require 1 inch of headspace rather than the 0.5 inch typical for water bath recipes. The additional headspace accommodates greater expansion.
Altitude also matters for water bath canning. Water boils at lower temperatures at high altitude, reducing processing effectiveness. At elevations above 1,000 feet, both processing time and headspace requirements may need adjustment — always check USDA altitude adjustment tables for your elevation.
The Siphoning Problem: When Liquid Escapes During Processing
Siphoning is when liquid escapes from the jar during processing, leaving food exposed above the liquid line inside the sealed jar.
Causes:
- Headspace too small (liquid pushed out by expansion)
- Fluctuating pressure during pressure canning (causes liquid to surge)
- Removing jars from canner too quickly before pressure fully normalizes
Consequences of siphoning:
- Food above the liquid line may discolor or dehydrate over storage
- Residue on the jar rim can interfere with sealing
- Reduced brine concentration in fermented or pickled products
Siphoning doesn't automatically make food unsafe — if the jar has sealed properly (lid is concave and doesn't flex), the food is protected. But it affects quality and shortens storage life.
Checking Your Seal After Processing
Correct headspace is one input to a successful seal. After processing and cooling (12-24 hours), verify the seal before storage:
The tap test: Tap the center of the lid with a metal spoon. A clear, high-pitched ring indicates a good vacuum seal. A dull thud means the lid is not sealed — either the center is flexing, or food is in contact with the lid.
The press test: Press the center of the lid. A properly sealed lid is concave (curved inward) and does not flex when pressed. If it pops up and down, the jar is not sealed.
Visual check: The lid should be slightly concave and not have any give when pressed at the center.
Any jar that fails these tests should be refrigerated and used within a few days, or reprocessed within 24 hours with a new lid.
Planning Your Canning Session to Avoid Headspace Errors
Most headspace errors happen when canners are rushing — running out of jars and overfilling the last one, or stretching a small amount of produce across too many jars and leaving excess headspace.
The solution is knowing your jar count before you start.
Know your jar count before you heat the canner.
Enter your harvest weight and vegetable type — get exact quart and pint jar counts based on USDA packing density standards.
Knowing you need exactly 7 quart jars before you start means you can fill each one to the correct headspace without scrambling. Running out of jars mid-session is the leading cause of improvised headspace decisions — and improvised decisions in canning are how seal failures happen.
The Bottom Line
Headspace is not aesthetic. It is the physical gap that allows vacuum formation — the mechanism that makes home canning safe for long-term storage.
The USDA specifications by food type exist because different foods expand differently under heat. Following them precisely is the difference between a pantry full of properly preserved food and jars that fail silently over winter.
Measure every jar. Use the right headspace for your food type. Verify your seals after processing.
Related Reading
- The Cost of Canning: Is It Actually Cheaper? — The real ROI of home canning including jar and energy costs
- Why Are My Pickles Mushy? — Salt concentration science for fermented vegetables
- Free Harvest to Jar Calculator — Jar count from harvest weight, based on USDA yield standards