🫙 How many jars do you need for your harvest?
Enter your vegetable type and quantity — get the exact jar count before you start canning.
Home canning has one rule that has no exceptions: the food's acidity determines the method, and the method determines safety.
This isn't about preference, tradition, or what your grandmother did. It's about a specific bacterium — Clostridium botulinum — whose spores survive boiling water and produce one of the most potent toxins on earth in sealed, low-acid, anaerobic environments (which is exactly what a sealed canning jar is).
Understanding why the two methods exist makes every canning decision straightforward.
Why pH Is Everything
Botulinum spores are everywhere — in soil, on vegetables, on your hands. They're harmless in the open air. The problem is what happens when they're sealed in a jar with no oxygen:
- In high-acid environments (pH below 4.6): Botulinum spores cannot germinate or produce toxin. The acid inhibits them completely.
- In low-acid environments (pH above 4.6): Spores can germinate, multiply, and produce toxin during storage.
The 4.6 pH threshold is not arbitrary. It's the specific point below which C. botulinum cannot survive — established by food science research and validated by the USDA.
Water bath canning (212°F (100°C)): Sufficient to process high-acid foods because the acid itself prevents botulism. Heat kills other pathogens (yeasts, molds, most bacteria) that would cause spoilage.
Pressure canning (240°F (116°C)): The extra 28°F above boiling water temperature is what kills botulinum spores. This temperature cannot be reached in open boiling water at sea level — only pressurized steam achieves it.
Which Foods Go in Which Method
| Water Bath Canning ✅ | pH Range | Pressure Canning Required ⚠️ | pH Range |
|---|---|---|---|
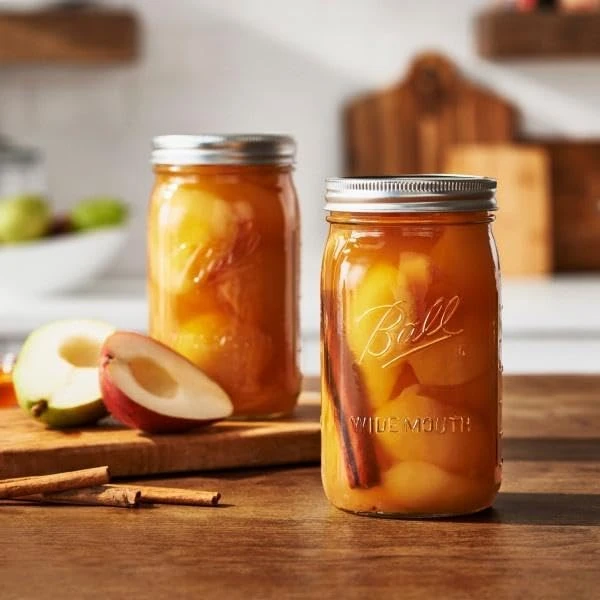
| Fruits (peaches, pears, apples) | 3.1–4.0 | Green beans | 5.3–6.0 |
| Jams, jellies, preserves | 3.0–3.5 | Corn | 5.9–6.5 |
| Pickles (vinegar-brined) | 3.0–4.0 | Carrots, beets | 4.9–5.8 |
| Tomatoes + added acid | Below 4.6 (with acid) | Potatoes, squash | 5.5–6.1 |
| Fruit juices | 3.0–4.0 | All meats, poultry, fish | 5.5–6.5 |
| Applesauce | 3.3–3.6 | Dried beans, legumes | 5.4–6.0 |
| Salsas (tested recipes only) | Below 4.6 | Mixed vegetable soups/stews | Varies — pressure required |
⚠️ The "open kettle" method is not safe. Pouring boiling food into jars and letting them seal as they cool was common before modern food science understood botulism. It does not process the contents — it only seals the jar around unprocessed food. USDA explicitly states this method cannot be considered safe.
Water Bath Canning: How It Works
Water bath canning uses a large pot of boiling water to process filled, sealed jars. The boiling water (212°F (100°C) at sea level) heats the jar contents to a temperature that kills pathogens while the jar's acid environment prevents botulism.
The Process
Inspect jars. No chips, cracks, or rough edges on the rim. Only use canning-specific jars (Mason, Ball, Kerr) — repurposed commercial jars (pickle jars, pasta sauce jars) may not seal reliably or withstand the thermal stress.
Use new lids. Flat lids with the sealing compound are single-use. Bands (the rings) can be reused if undamaged.
Sterilize jars for products processed less than 10 minutes. Keep jars hot until filling to prevent thermal shock when placed in hot water.
Fill using a tested USDA recipe. Leave the correct headspace (usually ¼ inch for jams, ½ inch for fruits and tomatoes). Headspace affects the vacuum seal — too much or too little can prevent proper sealing.
Remove air bubbles by running a thin spatula around the inside of the jar.
Wipe jar rims with a clean damp cloth. Any food on the rim prevents sealing.
Apply lids and bands — fingertip tight only. Too tight traps air; too loose allows water in.
Process in boiling water for the time specified in the tested recipe. The timer starts when the water returns to a full rolling boil after adding jars.
Remove and cool. Don't tilt jars. Don't press the center of lids to check seal during cooling — let them cool undisturbed for 12–24 hours.
Check seals. The center of the lid should be concave and not flex when pressed. Any unsealed jar goes in the refrigerator for immediate use.
Equipment for Water Bath Canning
| Equipment | Required? | Notes |
|---|---|---|
| Large pot (8+ quart) | Yes | Must be 3+ inches deeper than tallest jar |
| Jar rack | Yes | Keeps jars off pot bottom, allows water circulation |
| Canning jars + new lids | Yes | Mason, Ball, or Kerr brands; new flat lids each use |
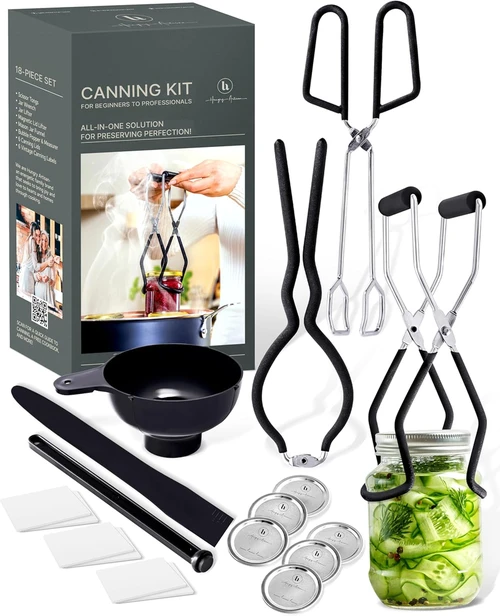
| Jar lifter | Yes | Regular tongs risk dropping hot jars |
| Wide-mouth funnel | Strongly recommended | Keeps jar rims clean; prevents sealing failure |
| Bubble remover / headspace tool | Recommended | A thin spatula or chopstick works |
Pressure Canning: How It Works
Pressure canning uses steam pressure inside a sealed vessel to raise water's boiling point above 212°F (100°C). At 10 pounds of pressure (at sea level), the temperature reaches 240°F (116°C) — the point at which botulinum spores are reliably destroyed within USDA-tested processing times.
Key Differences from Water Bath
A pressure canner is not a pressure cooker. Pressure cookers are tested for cooking speed, not for consistent temperature maintenance during long processing times. USDA processing times are validated specifically for pressure canners. Using a pressure cooker for canning voids the safety validation.
Altitude affects pressure canning. At higher altitudes, you need more pressure to reach the same temperature. Above 1,000 feet, adjust psi according to USDA altitude tables — your tested recipe will specify these adjustments.
Gauge type matters. Weighted-gauge canners (the weight jiggles to indicate correct pressure) don't require calibration. Dial-gauge canners need annual testing for accuracy — many county extension offices test these for free.
The Pressure Canning Process
Inspect all equipment. Check gaskets, vents, and gauges before each use season. A damaged gasket or clogged vent can prevent proper pressurization.
Add water to the canner. Usually 2–3 inches of hot water in the bottom, plus a rack to keep jars off the bottom.
Fill jars using a tested USDA recipe with the specified headspace (usually 1 inch for most vegetables and meats).
Load jars, lock the lid.
Vent steam for 10 minutes before closing the vent/adding the weight. This purges air from the canner — air pockets reduce the internal temperature even at the correct pressure.
Bring to target pressure. Adjust heat to maintain pressure within the range specified in the recipe.
Process for the exact time stated in the recipe. Timer starts when target pressure is reached.
Turn off heat, let pressure drop naturally. Do not attempt to speed this — rapid depressurization can cause liquid to boil out of jars (siphoning), potentially compromising seals.
Wait 10 more minutes after the gauge reads zero before opening. The canner is still hot enough to cause injury.
Remove jars, cool 12–24 hours, check seals.
The Tomato Question: Why Acid Must Be Added
Tomatoes occupy a confusing middle zone. Their natural pH ranges from 3.5 to 5.0 — some varieties are safely acidic, others are not. Modern breeding has also produced many low-acid tomato varieties that fall above the 4.6 safety threshold.
USDA's solution: add acid to every batch, regardless of perceived acidity.
Standard acidification for water bath canning:
- Per pint jar: 1 tablespoon bottled lemon juice OR 0.25 teaspoon citric acid
- Per quart jar: 2 tablespoons bottled lemon juice OR 0.5 teaspoon citric acid
Why bottled, not fresh lemon juice: Bottled lemon juice has a standardized acid content (pH approximately 2.0). Fresh lemon juice varies significantly between individual fruits. Only bottled provides the consistent acidification USDA recipes depend on.
Does it affect flavor? Yes, slightly. The tartness is typically undetectable in cooked applications (sauces, soups). For whole tomatoes or juice where flavor is more prominent, citric acid produces less flavor impact than lemon juice.
Planning your canning session?
Enter your harvest weight and the calculator tells you exactly how many quart and pint jars to have ready — based on USDA packing standards.
Common Beginner Mistakes
Using untested recipes for pressure canning. Processing times in USDA-tested recipes are calculated based on the density, pH, and heat penetration of a specific product. A homemade stew with different ingredient ratios than the tested recipe may have slower heat penetration at the center — the outside processes correctly while the center doesn't. Only use tested recipes for pressure-canned products.
Reducing processing time. Every minute of USDA processing time has a safety margin built in. Reducing time to preserve texture or save energy creates a potential safety gap. If you want firmer vegetables, adjust your recipe choice — don't adjust processing time.
Reusing commercial jar lids. Commercial lids (on pasta sauce jars, salsa jars, etc.) are not designed for home canning. The sealing compound is often single-use and may not provide a reliable vacuum seal through a second processing cycle.
Skipping the altitude adjustment. At elevations above 1,000 feet, water boils below 212°F (100°C). Processing times for water bath canning must be extended at higher altitudes; pressure for pressure canning must be increased. The USDA altitude adjustment tables are in every tested canning resource.
Cooling jars in the wrong conditions. Hot jars moved to a cold surface can crack (thermal shock). Don't place hot jars on a cold counter — put them on a towel. Don't put them where drafts will cool them unevenly.
The Bottom Line
Two questions determine your method:
What is the food's natural pH? Below 4.6 with verified testing (or reliable acidification) → water bath. Above 4.6 → pressure canning, no exceptions.
Is this a tested USDA recipe? If yes, follow it exactly including processing time and pressure. If no — use a tested recipe. The safety validation doesn't transfer to improvised recipes.
Water bath canning is accessible and inexpensive to get started. Pressure canning requires a larger equipment investment but opens up home preservation of vegetables, meats, and beans — the majority of a garden harvest.
Both methods, done correctly with tested recipes, produce shelf-stable food that is safe for the listed storage periods. Both methods done incorrectly create food safety risks that aren't visible, smell-able, or tasteable until they cause harm.
Use the tested recipes. Follow the times. Check your seals.
Related Reading
- USDA Canning Guidelines Explained — What the guidelines actually mean and why they exist
- What Is Headspace in Canning? — Why the gap at the top of your jar is a safety measurement, not an aesthetic one
- The Cost of Canning: Is Growing Your Own Food Actually Cheaper? — The full economics of home canning vs buying preserved food
- How to Can Tomatoes at Home — Step-by-step water bath method with the USDA acid requirements