Suzanne Williamson, RD
Registered dietitian and founder of Frugal Organic Mama. I made my first kimchi from a recipe that skipped explaining why each step mattered — the result was watery and bland. Understanding the purpose of the wilting step, the paste ratios, and the fermentation window changed everything. This guide explains the why alongside the how.
🥬 Getting the salt right for the wilting step.
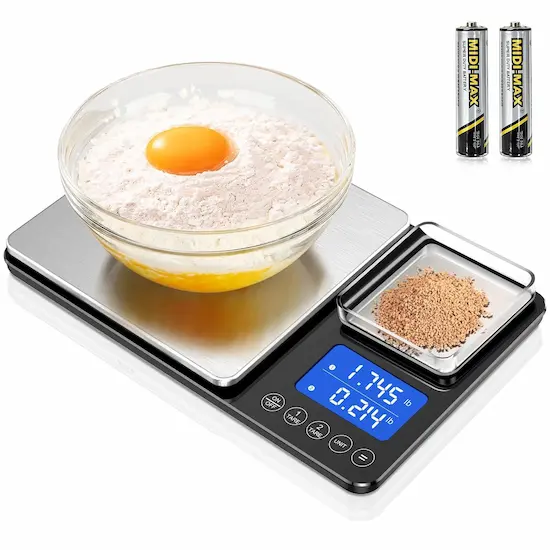
The brine calculator gives exact gram weights for any amount of cabbage — so the wilting concentration is accurate from the start.
Kimchi has a reputation for being complicated. It isn't — but it does have steps that need to be done in a specific order for specific reasons. Most kimchi recipes give you the steps without explaining why, which means when something goes wrong (and it will, the first time), you don't know which variable to adjust.
This guide covers the full method and the reasoning behind each step.
What You Need
The Ingredients
Napa cabbage (baechu): The traditional kimchi cabbage. Its crinkled, layered structure holds the paste better than green cabbage and has a higher water content that produces more brine during wilting. One medium head (~2 lbs) makes approximately 1 quart of finished kimchi.
Non-iodized salt: Use kosher salt, sea salt, or pickling salt — not iodized table salt. Iodine inhibits the lactic acid bacteria that drive fermentation. If you only have table salt, reduce the quantity by about 20% to account for its higher density.
Gochugaru (고추가루): Korean red pepper flakes. Not cayenne, not crushed red pepper, not paprika. Gochugaru has a fruity, moderately spicy, slightly smoky flavor that's specific to Korean cuisine. The heat level is moderate — significantly less aggressive than cayenne. It's available at Korean grocery stores, many Asian grocery stores, and increasingly at mainstream stores and online.
The quantity determines heat: 2 tablespoons makes mild kimchi, 3 tablespoons makes medium, 4+ tablespoons makes hot. Start at 2 if you're unsure of your heat tolerance and adjust in future batches.
Garlic: 4–6 large cloves, minced or blended. Garlic is a dominant flavor in kimchi — don't reduce it significantly. It also contributes to the fermentation by providing additional sugars and compounds that feed the bacteria.
Fresh ginger: 1 tablespoon grated or blended. Provides warmth and complexity. Ground ginger is a poor substitute — the fresh aromatics are different.
Fish sauce: 2 tablespoons. Provides salt, umami, and amino acids that accelerate and deepen fermentation. Substitute with soy sauce or tamari for vegan kimchi in the same quantity.
Scallions: 3–4 stalks, cut into 1-inch pieces. Adds color, texture, and flavor to the finished kimchi.
Optional additions: Daikon radish (julienned, adds crunch), carrots (julienned, adds color), Asian chives, fermented salted shrimp (saeujeot) for additional depth.
Equipment
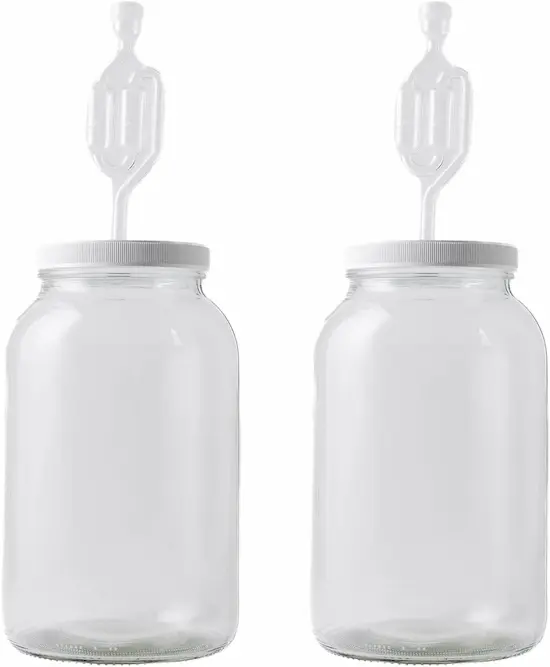
Large bowl, clean jar (quart or half-gallon), kitchen gloves (the gochugaru will stain your hands orange for hours), and a cutting board. No special fermentation equipment required — a loosely covered jar works fine.
The Full Method
Step 1: Wilt the Cabbage (1–2 Hours)
This step is the one most beginners skip or rush, and it's the reason their kimchi turns out watery.
Cut the napa cabbage into quarters lengthwise, then cut each quarter into roughly 2-inch pieces. Dissolve 2 tablespoons of non-iodized salt in 4 cups of cold water. Add the cabbage to the brine and press it down to submerge. Let it sit at room temperature for 1–2 hours, turning the cabbage every 30 minutes or so.
What's happening: Salt draws water out of the cabbage cells through osmosis, reducing their water content and making the cabbage flexible rather than crisp. This excess water needs to be released before fermentation — if it isn't, it will dilute the paste during mixing and during fermentation, producing watery kimchi with muted flavor.

The readiness test: Pick up the thickest white stem piece. Bend it in half. Properly wilted cabbage bends without snapping. If it still cracks or feels rigid, give it another 30 minutes.
Why not just rub dry salt directly? You can — traditional Korean kimchi often uses the dry salt method. The brine method used here is more forgiving for beginners because it produces more even salting. The dry method can result in unevenly wilted cabbage if the salt isn't distributed carefully.

Step 2: Make the Paste
While the cabbage wilts, prepare the seasoning paste.
Mince or blend the garlic and ginger until fine — almost paste-like. Combine with gochugaru and fish sauce in a bowl. Add 1–2 tablespoons of water or reserved cabbage brine to bring it to a spreadable consistency. Mix well.
Taste the paste. It should be intensely spicy, salty, and savory — much more so than you'd want to eat on its own. Once mixed with the large volume of cabbage, this intensity becomes appropriate.
Adjusting at this stage:
- Too spicy: reduce gochugaru by 1 tablespoon in your next batch
- Not salty enough: add another teaspoon of fish sauce
- Too thick to mix: add a splash of brine
- No fish sauce available: replace with 2 tablespoons soy sauce — fermentation still works, flavor will be cleaner
Step 3: Rinse and Drain
After wilting, pour off the brine and rinse the cabbage under cold water 2–3 times. This removes excess surface salt — without rinsing, the final kimchi will be too salty. Taste a piece after rinsing: it should be pleasantly salty, like a well-seasoned dish, not aggressively salty.
Squeeze the rinsed cabbage firmly in handfuls to remove as much water as possible. Spread on a clean towel for a few minutes if you want to reduce moisture further. The drier the cabbage, the more concentrated the paste flavors will be in the finished kimchi.
Step 4: Mix
Put on gloves — gochugaru stains intensely.
Combine the drained cabbage, sliced scallions, and any other vegetables in a large bowl. Add the paste. Mix with your hands, pressing the paste into every surface of each cabbage piece. Work thoroughly — uncoated cabbage pieces will taste bland in the finished kimchi.
The mixture should be uniformly red-orange. Every piece coated. The volume will have reduced significantly from the original raw cabbage.
Step 5: Pack and Ferment
Pack the kimchi tightly into a clean jar, pressing down firmly as you go. Eliminate air pockets — bacteria are anaerobic and the paste needs to be in contact with the vegetables rather than air. Leave 1–2 inches of headspace at the top. Kimchi produces carbon dioxide during fermentation and will expand.
Cover loosely — a jar lid set on top but not screwed down, or a cloth secured with a rubber band. Do not seal airtight during active room temperature fermentation; the CO₂ needs to escape.
Leave at room temperature, ideally 65–75°F. Press the kimchi down once or twice daily with a clean spoon to keep the vegetables submerged under the liquid that accumulates.
The fermentation timeline:
- Day 1: The kimchi smells fresh and spicy. Mild flavor.
- Day 2: Bubbles visible. Smell is more complex — slightly sour notes developing. This is lactic acid production beginning.
- Day 3: Noticeably more sour. More bubbling. The flavor has depth and complexity that wasn't there on day 1.

Taste it each day starting at day 1. When it reaches your preferred level of sourness, seal the jar and move to the refrigerator.
There is no universally correct fermentation time — it depends on your kitchen temperature, the specific bacteria on your cabbage, and your personal taste preference. A warmer kitchen ferments faster; a cooler kitchen takes longer. Taste is the only reliable guide.
The Refrigerator Stage
Cold dramatically slows fermentation. Once refrigerated, kimchi continues to ferment and sour very slowly — a batch refrigerated at day 1 will still be noticeably more sour at week 4 than it was when you put it in.
Fresh kimchi (days 1–7 refrigerated): Bright, spicy, crunchy. Best eaten as a condiment or side dish alongside rice, eggs, noodles, or meat.
Medium kimchi (weeks 2–4 refrigerated): More sour, slightly softer, flavors more integrated. The gochugaru flavor mellows and the fermented complexity increases. Still good for eating fresh.
Aged kimchi (1–3 months+ refrigerated): Intensely sour, softer texture, deeply complex. At this stage many Koreans use it primarily for cooking — kimchi jjigae (kimchi stew), kimchi fried rice, kimchi pancakes — where the sourness becomes a flavor foundation rather than an accent.
This evolution means kimchi essentially never goes to waste. Fresh kimchi you don't finish eating raw becomes the ideal ingredient for cooked dishes as it ages.
Flavor Variables You Can Control
Heat Level
Gochugaru quantity is your primary heat lever. A 2 tablespoon batch is mild enough for most people unfamiliar with spicy food. 4 tablespoons is genuinely hot. Start lower and adjust up in future batches — you can't reduce heat once the paste is mixed.
Sourness
Fermentation time at room temperature controls sourness. One day is mild; three days is significantly more sour. If you refrigerate early (day 1) and the kimchi develops more sourness in the refrigerator than you wanted, eat it faster in cooked applications.
Texture
Wilting time affects crunch. 1 hour produces crunchier kimchi; 2+ hours produces softer results. Under-wilted cabbage produces watery kimchi regardless of fermentation. Over-wilted cabbage is soft before fermentation even begins.
Depth of Flavor
Fish sauce quantity is the umami lever. More fish sauce = deeper, more complex flavor. For a first batch, 2 tablespoons is the baseline. Add salted fermented shrimp (saeujeot) alongside the fish sauce for the most authentic depth — available at Korean grocery stores.
What Goes Wrong and Why
Watery kimchi: Cabbage not wilted long enough, or not squeezed dry enough after rinsing. The excess water dilutes everything. Solution: next batch, wilt longer and squeeze harder.
Too salty: Rinsed too briefly or not at all after wilting. Taste the cabbage after rinsing — if it's still very salty, rinse again. One more rinse removes significant surface salt.
Not sour enough after 3 days: Kitchen is too cold (below 60°F). Move to a warmer location, or accept a longer fermentation window. Below 55°F, fermentation essentially stops.
Too sour too fast: Kitchen is very warm (above 75°F). Refrigerate earlier — at day 1 or day 2 — before it goes further than you want.
White film on the surface: Almost certainly Kahm yeast — harmless. Skim it off, press the vegetables back below the liquid, and continue. For the full visual guide to distinguishing Kahm yeast from mold, see Kahm Yeast vs Mold.
Kimchi tastes flat: Either the paste wasn't coating evenly (mix more thoroughly next time) or the gochugaru was old and stale. Gochugaru loses its fruity brightness within a year of opening — buy fresh from a store with high turnover.

The Nutritional Case
Kimchi is one of the most nutritionally dense fermented foods. Per cup of finished kimchi:
- Calories: approximately 23
- Fiber: 2g
- Vitamin C: 15–20mg (from cabbage and pepper)
- Vitamin K: significant from the napa cabbage
- Live probiotic cultures: Lactobacillus, Leuconostoc, Weissella species in quantities that vary by fermentation stage
As a registered dietitian, I'll note that the probiotic claims around kimchi are genuine but often overstated in popular media. The bacteria in kimchi are real and live in unpasteurized kimchi. Whether they produce specific health outcomes depends on the individual's existing gut microbiome, the specific strains present, and regular consumption over time. What's not in question: kimchi is a low-calorie, high-fiber, high-flavor food that most people don't eat enough of.
The Frugal Math
A medium head of napa cabbage costs $1.50–3.00 at most grocery stores. The other ingredients add $0.50–1.00 per batch at typical pantry quantities. One batch makes approximately 1 quart.
Store-bought refrigerated kimchi from a Korean brand: $5–9 per pint-sized jar.
The per-serving cost of homemade kimchi is roughly one-quarter to one-sixth the cost of store-bought, and the quality — because you control freshness and fermentation stage — is often better.
The gochugaru is the one ingredient that requires a specific purchase. A 1-pound bag ($6–10 at a Korean grocery store, $12–15 online) makes 10–15 batches. Once you have it, the per-batch cost becomes minimal.
Scaling up for a bigger batch?
The brine calculator scales the wilting salt to any weight of cabbage — so the concentration stays accurate whether you're making one quart or a gallon.
Related Reading
- Sauerkraut vs Kimchi vs Curtido — How the three fermented cabbage traditions compare on science, flavor, and nutrition
- How to Make Sauerkraut at Home — The simpler fermented cabbage with fewer ingredients and longer fermentation
- Fermentation Temperature Guide — How temperature affects fermentation speed, flavor, and safety — a warmer kitchen ferments kimchi faster
- Science of Pickling Salt Density — Why salt type matters for the wilting brine and why table salt and kosher salt measure differently
- Kahm Yeast vs Mold — How to identify the white surface growth that appears on kimchi and whether to discard
- How Long Do Pickles Last? — Storage timelines for fermented vegetables including kimchi
- Food Safety Danger Zone Guide — Understanding the temperature range that also applies to fermentation safety
- Lacto-Fermentation vs Vinegar Pickling — Why kimchi and store-bought vinegar kimchi are fundamentally different products